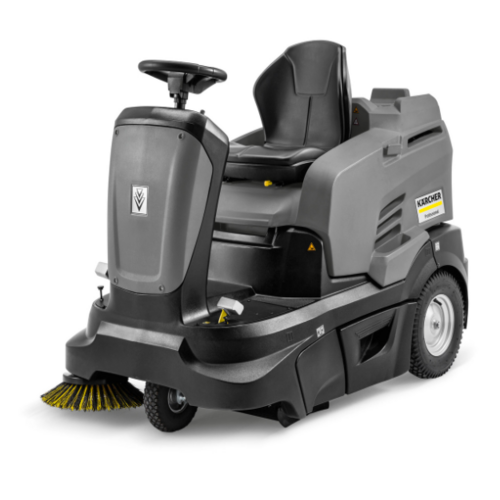
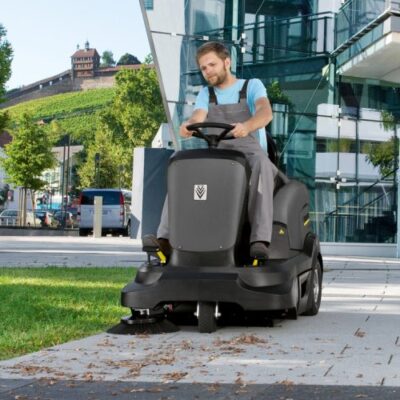
Cleaning industrial spaces is a task of paramount importance. Consider efficiency, precision, and safety crucial factors. Among the myriad of cleaning equipment available, industrial ride-on floor sweepers stand out as efficient giants, promising not only cleanliness but also time and cost-effectiveness. In this guide, we will delve into the intricate art of operating these machines seamlessly, ensuring your workspace not only sparkles but operates at its best.
Understanding the Ride-on Floor Sweeper

Before we jump into the specifics of operating a ride-on floor sweeper, let’s get familiar with this impressive piece of machinery. A Ride-on Floor Sweeper, as the name suggests, is a powerful cleaning device designed for large-scale industrial cleaning. These sweepers feature sturdy brushes and high-capacity waste containers, enabling them to clean vast areas quickly and efficiently.
Getting Started: Preparing Your Ride-on Floor Sweeper

Operating a ride-on floor sweeper effectively begins with preparation. Follow these steps for a seamless start:
- Pre-Inspection: Before every use, conduct a thorough pre-inspection of the machine. Check brushes, vacuum systems, and waste containers for any signs of wear and tear. Ensure all parts are functioning optimally.
- Battery Check: Check the battery level of your battery-powered ride-on sweeper. A fully charged battery is essential for uninterrupted cleaning operations.
- Adjust Settings: Depending on the type of floor and debris, adjust the height and pressure settings of the brushes. This customisation ensures efficient cleaning without damaging the floor.
Mastering the Operation: Step-by-Step Guide

Now that you have prepared and readied your ride-on floor sweeper, it’s time to dive into the operation process. Follow these steps for a thorough cleaning session:
Step 1: Start the Engine
Engage the machine following the manufacturer’s instructions. Usually, a key or button starts the engine. Hold the handles firmly and be prepared for motion.
Step 2: Drive Slowly and Steadily
Ride-on floor sweepers are designed for efficiency, not speed. Drive the machine slowly and steadily. This ensures that the brushes have enough time to collect all the dirt and debris effectively.
Step 3: Follow a Systematic Pattern
Instead of random movements, follow a systematic pattern while cleaning. Typically, an overlapping ‘S’ or ‘Z’ pattern works well for most industrial spaces. This pattern ensures no area is left uncleaned.
Step 4: Pay Attention to Corners and Edges
Ride-on floor sweepers might have large brushes, but they can’t reach every nook and cranny. Use the side brushes or manual tools to clean corners and edges effectively.
Step 5: Empty Waste Container Regularly
Monitor the waste container. Don’t wait for it to be completely full. Regularly emptying the container ensures consistent performance.
Step 6: Post-Cleaning Inspection
After cleaning, inspect the area to ensure no debris or dirt remains. If necessary, do a quick manual cleaning of specific areas.
Check out our range of ride-on floor sweepers
For more guidance, check out our Cleaning Machine ‘How To’ Videos and our Training Academy
Or contact us for any queries


